Stainless steel fixtures are widely specified in industrial, institutional, commercial, and healthcare environments, and not just for their durability. Stainless steel is also hygienic and easy to maintain.
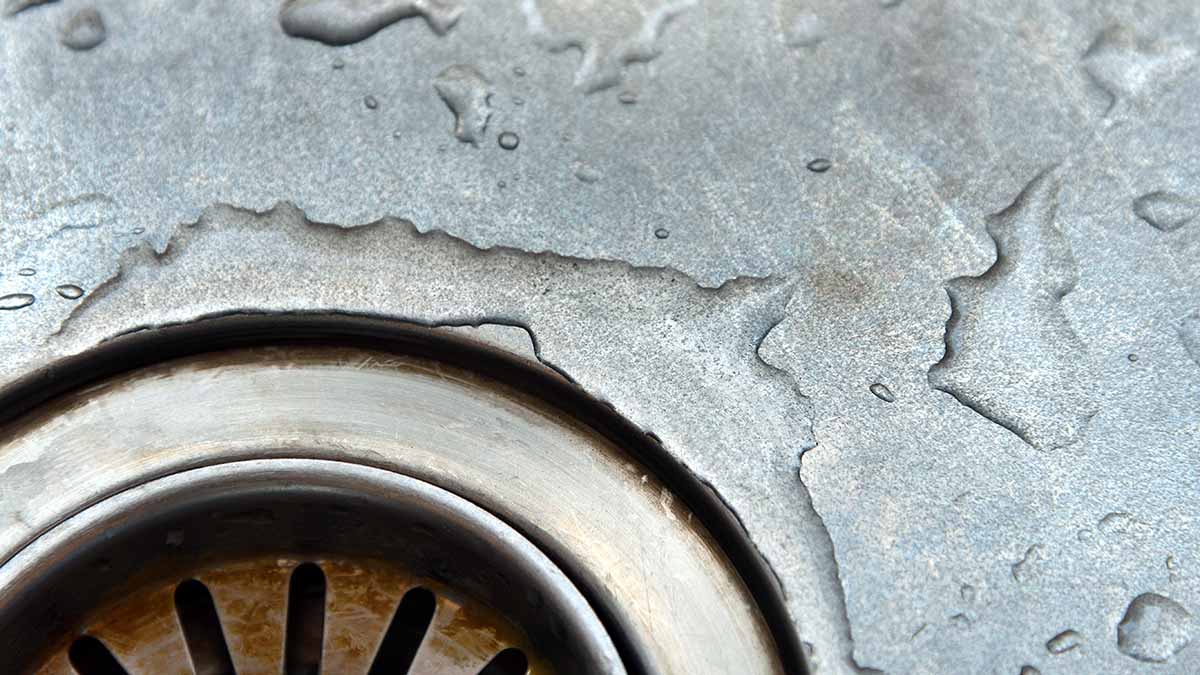
But even stainless steel fixtures must be properly cared for in order to keep them looking as shiny and new as the day they were installed. One of the most common questions we get from customers is, “Why are there rust stains on our stainless steel sinks, and how do we remove them?”
Before we answer that, let’s go over what stainless steel is.
What Is Stainless Steel?
Stainless steel is a corrosion-resistant alloy made of iron, chromium, and in some cases nickel and other metals. When this alloy comes in contact with oxygen, a chromium oxide layer forms on the surface. The chromium oxide layer protects the sink—and it can actually repair itself when it gets minor scratches.
Fun Fact
Stainless steel is infinitely recyclable, never losing the inherent properties that make it valuable and useful.
All fixtures manufactured by Acorn Engineering Company® are made from reclaimed stainless steel, which has been our material of choice from the beginning. Today, we sculpt this 80% recycled alloy into products that address complex environmental issues, such as water conservation and energy efficiency, keeping waste to a minimum. Acorn commercial plumbing fixtures are durable and provide years of maintenance-free use, resulting in long-term environmental and economic benefits.
But as corrosion resistant as it is, your stainless steel sink still requires care, so let’s get back to those ugly rust stains and how they got there in the first place.
Why Did My Stainless Steel Sink Rust?
Problems arise when items are left sitting in the sink for extended periods of time. Metal utensils, cast iron pots and pans, wet sponges—even something as tiny as a hairpin!—all of these can cause rust to develop. The best way to prevent this is to simply wash up immediately and leave a clean, dry sink behind when you leave. But no one’s world is ideal, you’ve got the rust stains, and you want them gone. Time to get to work!
How to Clean Rust from a Stainless Steel Sink
One solution commonly found on the web advises using baking soda and a soft cloth or bristle brush to remove rust stains. However, we’re not familiar with this method and can’t confirm that baking soda won’t harm or otherwise interfere with the chromium oxide layer, so we don’t recommend it. Instead, we suggest removing surface rust and restoring the passive (chromium oxide) layer to your stainless steel.
An abrasive nylon pad, like Scotch-Brite®, may be used. Do not use steel wool, as it will damage the surface layer.
- Green: A finer grade typically used in household or light commercial applications
- Red: A medium grade, coarser pad used for commercial cleaning and abrasive polishing of stainless steel
- Grey: A heavy, coarse grade for use in aggressive cleaning and re-graining of stainless steel
Cleaning, Step by Step
- When using these materials, first ensure the sink basin is completely dry and always start the finest-grade nylon pad. Start with the outside of the basin, and then proceed to the inside.
- Spray on CresClean™ liberally and let sit for 10 minutes over the stain.
- Scour the surface with the pad until it is free of rust or visible oxidation. Make sure to follow the direction of any grain lines on the metal surface. Eye protection is recommended during this process.
- If the green pad isn’t enough, step up to the medium-grade red pad. Only the most extreme cases should require the heavy-duty grey nylon pad. If you do use it, you should then re-scour all surfaces with the red pad and then the green pad in order to soften the grain and restore a smooth finish to the stainless steel. Why? A smoother surface helps facilitate the restoration of the passive, corrosion-resisting layer of chromium oxide.
- Once all signs of rust, corrosion, and oxidation have been removed and the surface is smooth, wash the sink with a mild dishwashing soap and a soft towel or sponge. Dry thoroughly and apply 3M™ Stainless Steel Cleaner & Polish, following the instructions on the packaging.
This process will destroy the thin protective layer on the stainless steel surface, but not to worry—it will restore itself over time, as it soaks up the oxygen in the air. We recommend you refrain from using the sink, letting it sit completely dry for 24–48 hours, while this unique healing process takes place.
Moving forward, make sure you rinse and dry your sink immediately after each use and avoid letting anything sit in it for extended periods of time. Even stagnant water is harmful, as it collects dust and debris that encourages the growth of corrosion-enabling microorganisms. Regular rinsing and drying helps prevent hard water and soap stains, as well.
If you follow these simple steps, your stainless steel sink will shimmer and shine for many years!
Related Reading: How to Properly Clean & Care for Stainless Steel Fixtures
